Goodbye Scanner, Hello Occasional Stitching
The Cultural Heritage community has migrated from legacy scanning systems to instant capture using camera-based scanners. However, for some objects camera-based scanners require stitching two or more captures together. Such stitching workflows can be required because the size of the object is too large to fit on a particular work surface, or because more resolution is required than the camera provides in a single capture.
Capturing is the Easy Part
We have a variety of hardware designed to help facilitate capture during stitched-capture workflows. For example:
- The DT Atom X-Slide Top provides consistent left-right stitching of long-aspect-ratio oversized materials
- The DT XY Film Scanner allows 2-shot, 4-shot, 6-shot, 9-shot, and 16-shot stitches of transmissive material up to 11″x14″ in size
- The DT XY68, still in development, will accommodate stitching up to 6′ x 8′ reflective material, automatically capturing as many images as required to achieve 1000ppi
However, capturing the tiled raw files is only half of the process. The individual captures (“tiles”) need to be stitched together and output as a single TIFF or PSB file. When capturing a single object this process only requires a few clicks, but becomes cumbersome when capturing large quantities of objects.
The Library of Congress Challenge
Earlier this year the Library of Congress purchased two DT XY Film Scanners to digitize their Farm Security Administration film collection, which was in physically deteriorating state and required urgent high-quality digitization. This collection is massive in scale. To provide the productivity required to digitize this collection before it was too late, DT needed to provided a solution that could, not only capture quickly, but stitch quickly as well.
Selecting a Stitching Program
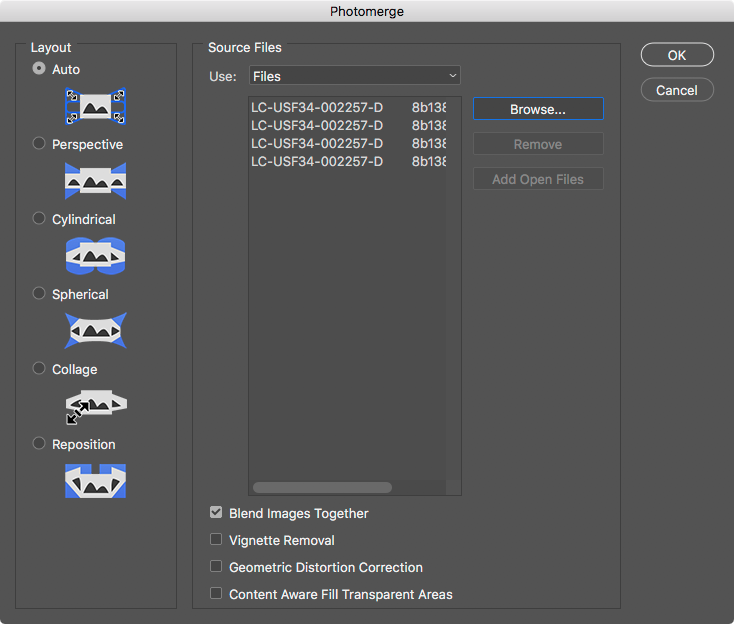
A screen grab of the Adobe Photoshop Photo Merge tool. While the quality of the output, navigating this user interface for every stitch in a heavy volume workflow is extremely inefficient.
DT spent over one hundred hours testing a variety of stitching software for this project and related Cultural Heritage stitched-capture workflows. We drank a lot of coffee and pushed around a lot of pixels!
Our research showed that several programs such as AutoPano Giga have excellent user interfaces which facilitate batch stitching, but their output often show very small stitching errors in the final output. In many other settings (e.g. landscape photography) minor stitching errors would probably be ignorable or retouchable. But in most Cultural Heritage institutions these minor stitching errors are highly problematic; they can lead to a misinterpretation of the original object.
On the other hand the Photo Merge tool in Adobe Photoshop (CC 2017) showed excellent quality in its output, but had a terrible user interface for batch stitching. By default, Photo Merge requires several clicks including a manual selection of the input files, then requires the user to wait for the stitch to complete, and then requires the user to save and close it before proceeding to the next set of files. If the user wants to stitch ten oversized architectural drawings, each of which was captured with a four-shot stitch, the user must wait for each stitch to complete, and manually start the next stitch.
In short, AutoPano Giga had good batch function, but mediocre math, and Photoshop Photo Merge had good math, but no batch function.
So DT added batch functionality to Photoshop Photo Merge.
DT BatchStitch; Scripting to Stitching Success!
We call the result “DT BatchStitch”. It is an Adobe ExtendScript script written for and tested in Adobe Photoshop CC 2017 and CC 2018. We are releasing it today to the CH community at no cost. It solves the lack of a batch function in Adobe Photoshop’s Photo Merge tool. It asks for a folder-of-folders and runs each of those child folders through Photo Merge with predefined settings; after selecting the folder-of-folders, the user does NOT have to click through the annoying Photo Merge dialog.
But Wait There’s More
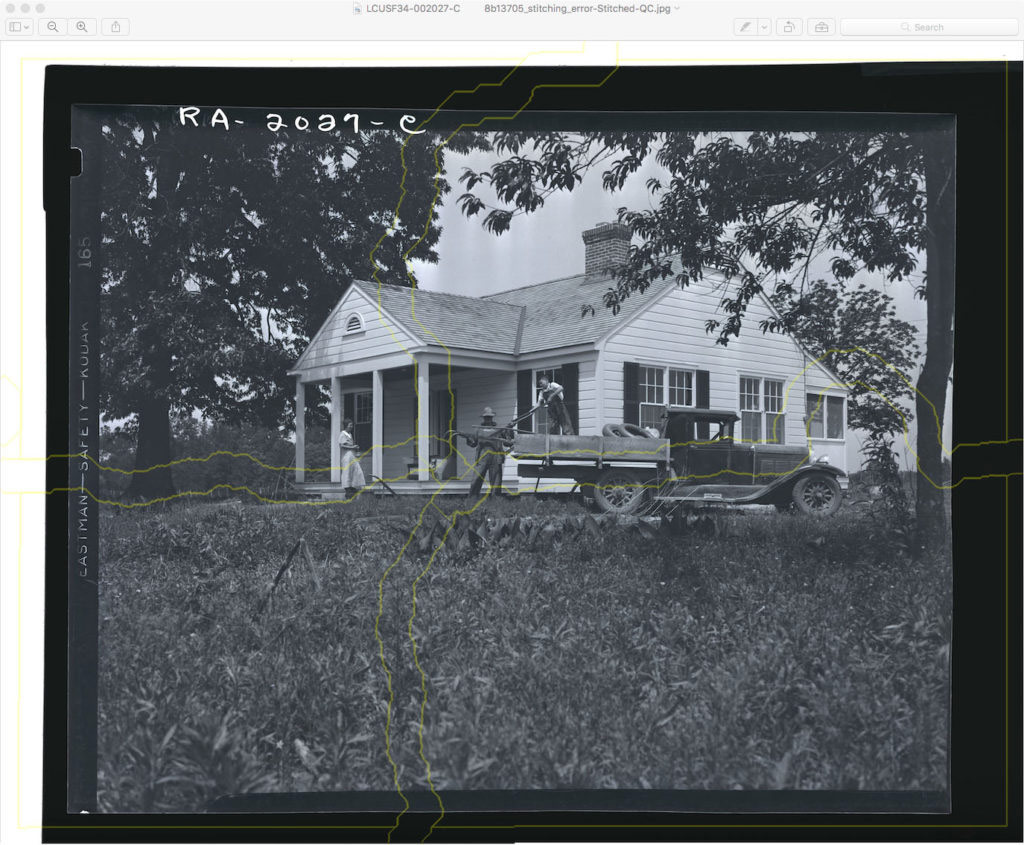
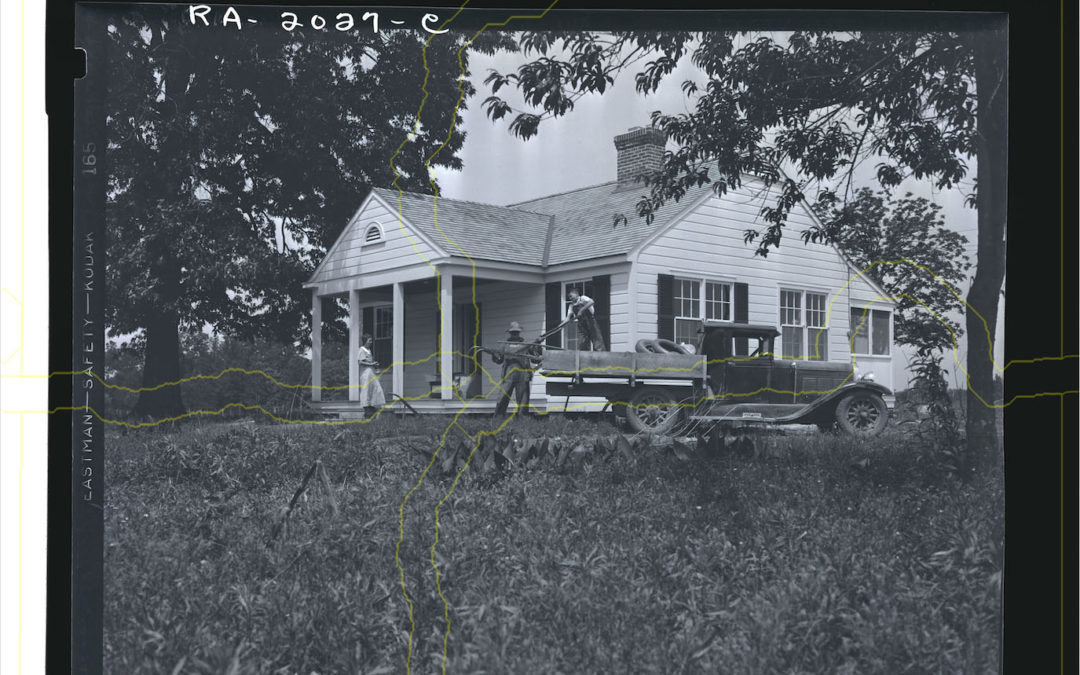
The DT BatchStitch QC file generated for a 162 megapixel (1 gigabtye file size) scan of a 4×5 from the Farm Security Administration collection of the Library of Congress. Captured on the DT XY Film Scanner at 3500ppi. The QC file highlights the stitch lines to facilitate faster inspection of the stitch.
One of the challenging parts of a stitching-workflow is QC. After producing a batch of output files it’s important to review them for stitching errors. Such errors can take the form of obvious omission (e.g. you forgot to capture the top right of the object), obvious algorithm-errors (e.g. Photo Merge couldn’t figure out how to line up the images), or subtle stitching errors (e.g. a road on a map jumps over a few pixels at the stitching seam).
DT BatchStitch helps this by generating an additional derivative specific to QC, a JPG with a highlighted corridor around the stitching seams. Because it’s a JPG it can be opened to 100% in Preview in a couple of seconds, even in the case of very large stitches when the preservation file can easily reach many GB in size.
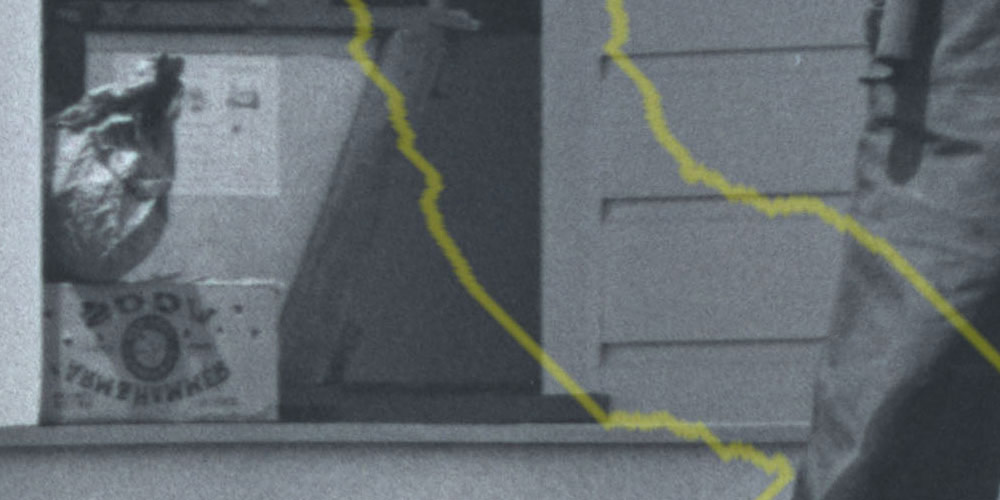
A 100% pixel view of the previous image. The QC file helps the user evaluate how the stitching is handling fine detail at the stitch seams. This is a 4×5 scanned at 3500 ppi; each pixel is around 7 microns across, about the size of a red blood cell and ten times smaller than the width of a human hair.
Error Reporting
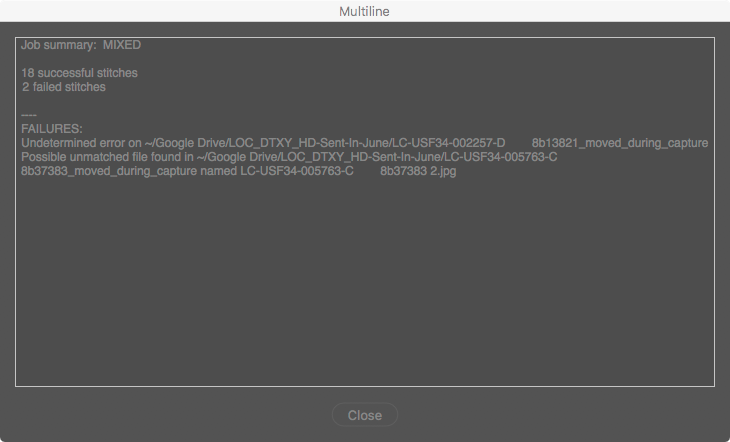
An example of the error reporting provided at the end of a DT BatchStitch job. Here 2 of the folders failed to produce a valid stitch.
DT BatchStitch also defers reporting of a variety of potential errors until the end of the job so that the job is not halted when an error occurs in one of the stitches. A collection of such errors is presented at the end, with a notation about which folders caused the errors and a guess (when possible) at the cause of the error. The Library of Congress is, therefore, able to run the script overnight when processing large batches; if one or more of them generate an error the rest still complete and the errors can be evaluated in the morning.
Download the Script
Please fill out the form below and a link to download the script will be emailed to you. It’s free, but make sure to read the terms of use in the documentation (see below).
Install
Simply put the downloaded .jsx file into [Applications > Adobe Photoshop CC (year) > Presets > Scripts] and restart Photoshop. DT BatchStitch will appear under [File > Scripts].
Documentation and Customization
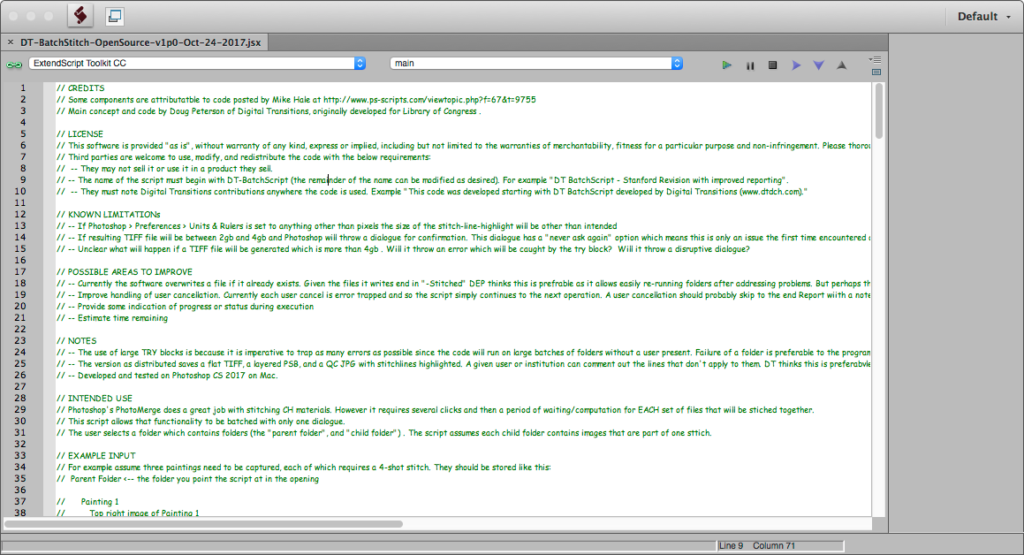
A screen grab of the documentation and notes you’ll find by opening DT BatchStitch in Adobe ExtendScript.
To read the notes, learn more about the license we’ve released the tool under, or make customizations (such as which kind of files are saved and what color the QC JPG uses for it’s seam highlighting) simply open the script file itself in Adobe ExtendScript Tool.
Interested in More Scripting?
If you’ve made it to the end of this lengthy and detailed article then you might be interested in diving deeper in Capture One AppleScripting. If so, you should know:
- DT AppleScripting Building Blocks Kit
- DT Coding Series
- Our Capture One Masters Program includes some scripting in the curriculum.
- Through On-Site Consulting we can help with your scripting needs, either to consult on your code, or to write it for you.
Credits
Primary development of this script was done by Doug Peterson, Head of R+D and Product Management at Digital Transitions. He is indebted to Library of Congress, Philadelphia Museum of Art, and Stanford University for their assistance in testing and providing feedback on early versions of this script and to Mike Hale of www.ps-scripts.com.
Update:
We received the below greatly-appreciated suggestions from a client who asked not be named.
I made some modifications to it to make the process a bit better. I added a parameter to change the ruler to pixels (I could have written if statement but don’t really care to make it fancy; gorilla coding works fine here)
// Change PS ruler units

restoreruler = app.preferences.rulerUnits; // Store units in variable

app.preferences.rulerUnits = Units.PIXELS;
Later in the script, after the main function, before it finishes, I apply the stored variable to change the ruler back to what it was before:
// Restore PS ruler units as stored in SET-UP section

app.preferences.rulerUnits = restoreruler;
Thanks to that user for the great suggestion! It addresses a quirk of the original code wherein if the units of PS were set to something other than pixels the default corridor size could be arbitrarily larger or smaller than intended.